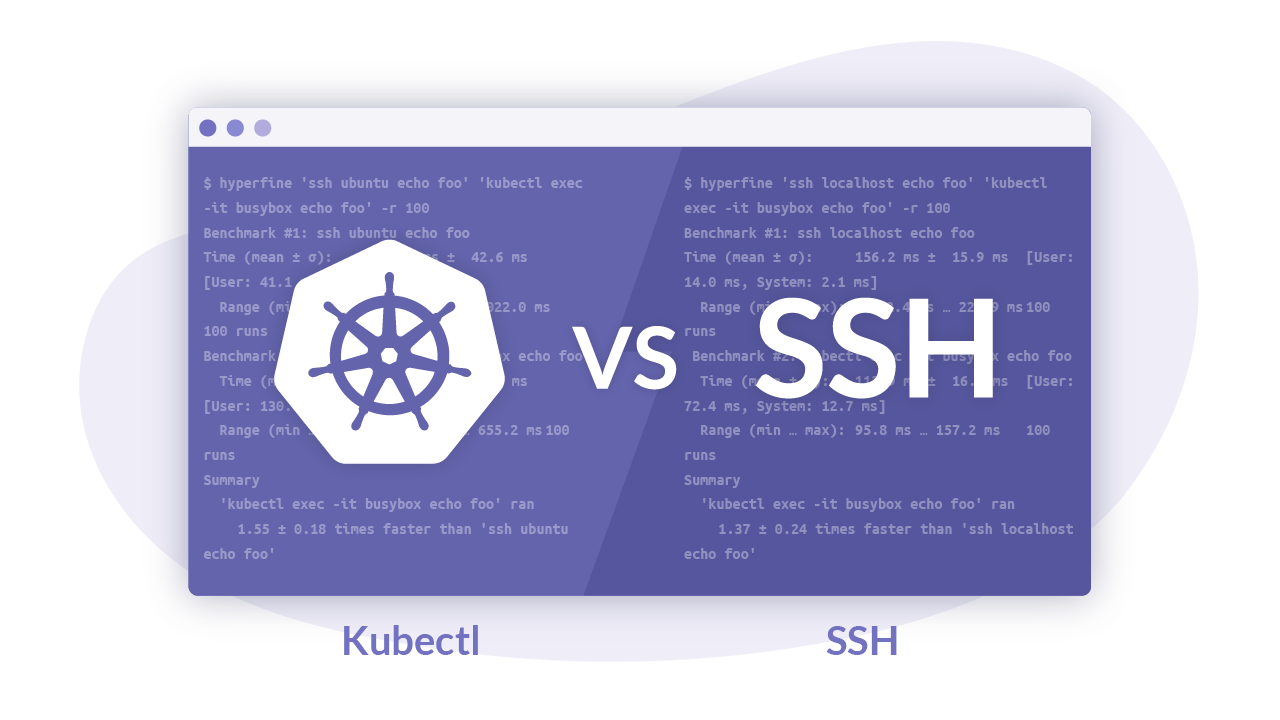
Làm thế nào để gõ kubectl trên máy của mình mà connect đến master k8s
đầu tiền cần cài kubectl
https://kubernetes.io/docs/tasks/tools/
Tiếp theo
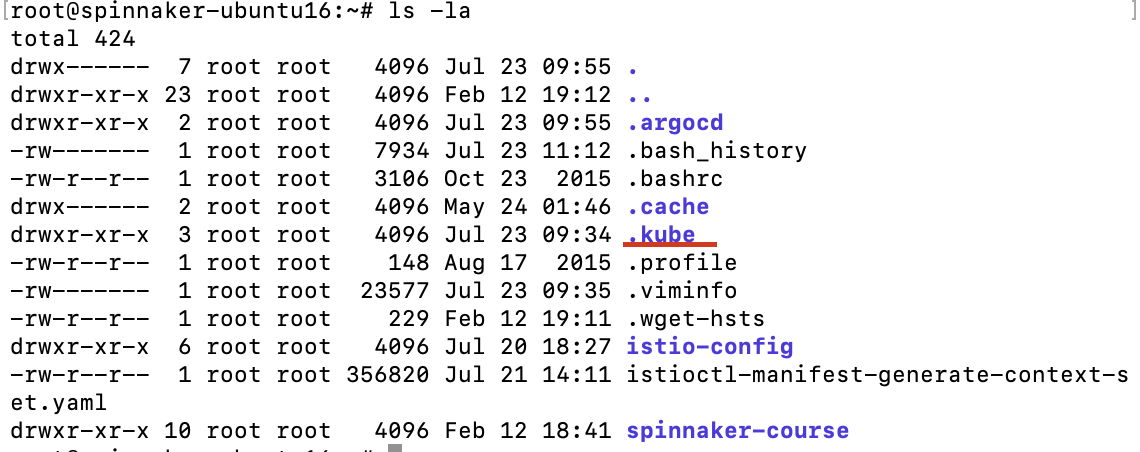
mkdir -p $HOME/.kube
sudo cp -i /etc/kubernetes/admin.conf $HOME/.kube/config
sudo chown $(id -u):$(id -g) $HOME/.kube/config
$HOME chính là được dẫn folder home của máy bạn
Có những trường hợp các bạn gõ kubectl nhưng hiện thị lỗi là connection timeout thì cat file config và kiểm tra dòng server
server: https://192.168.101.40:6443
thực hiển lệnh curl
root@spinnaker-ubuntu16:~# curl -v telnet://192.168.101.40:6443
* Rebuilt URL to: telnet://192.168.101.40:6443/
*   Trying 192.168.101.40...
* Connected to 192.168.101.40 (192.168.101.40) port 6443 (#0)
phải connected thì máy bạn mới connect với k8s master nhé
netstat -ntlp
show các port tại máy mà bạn muốn show.
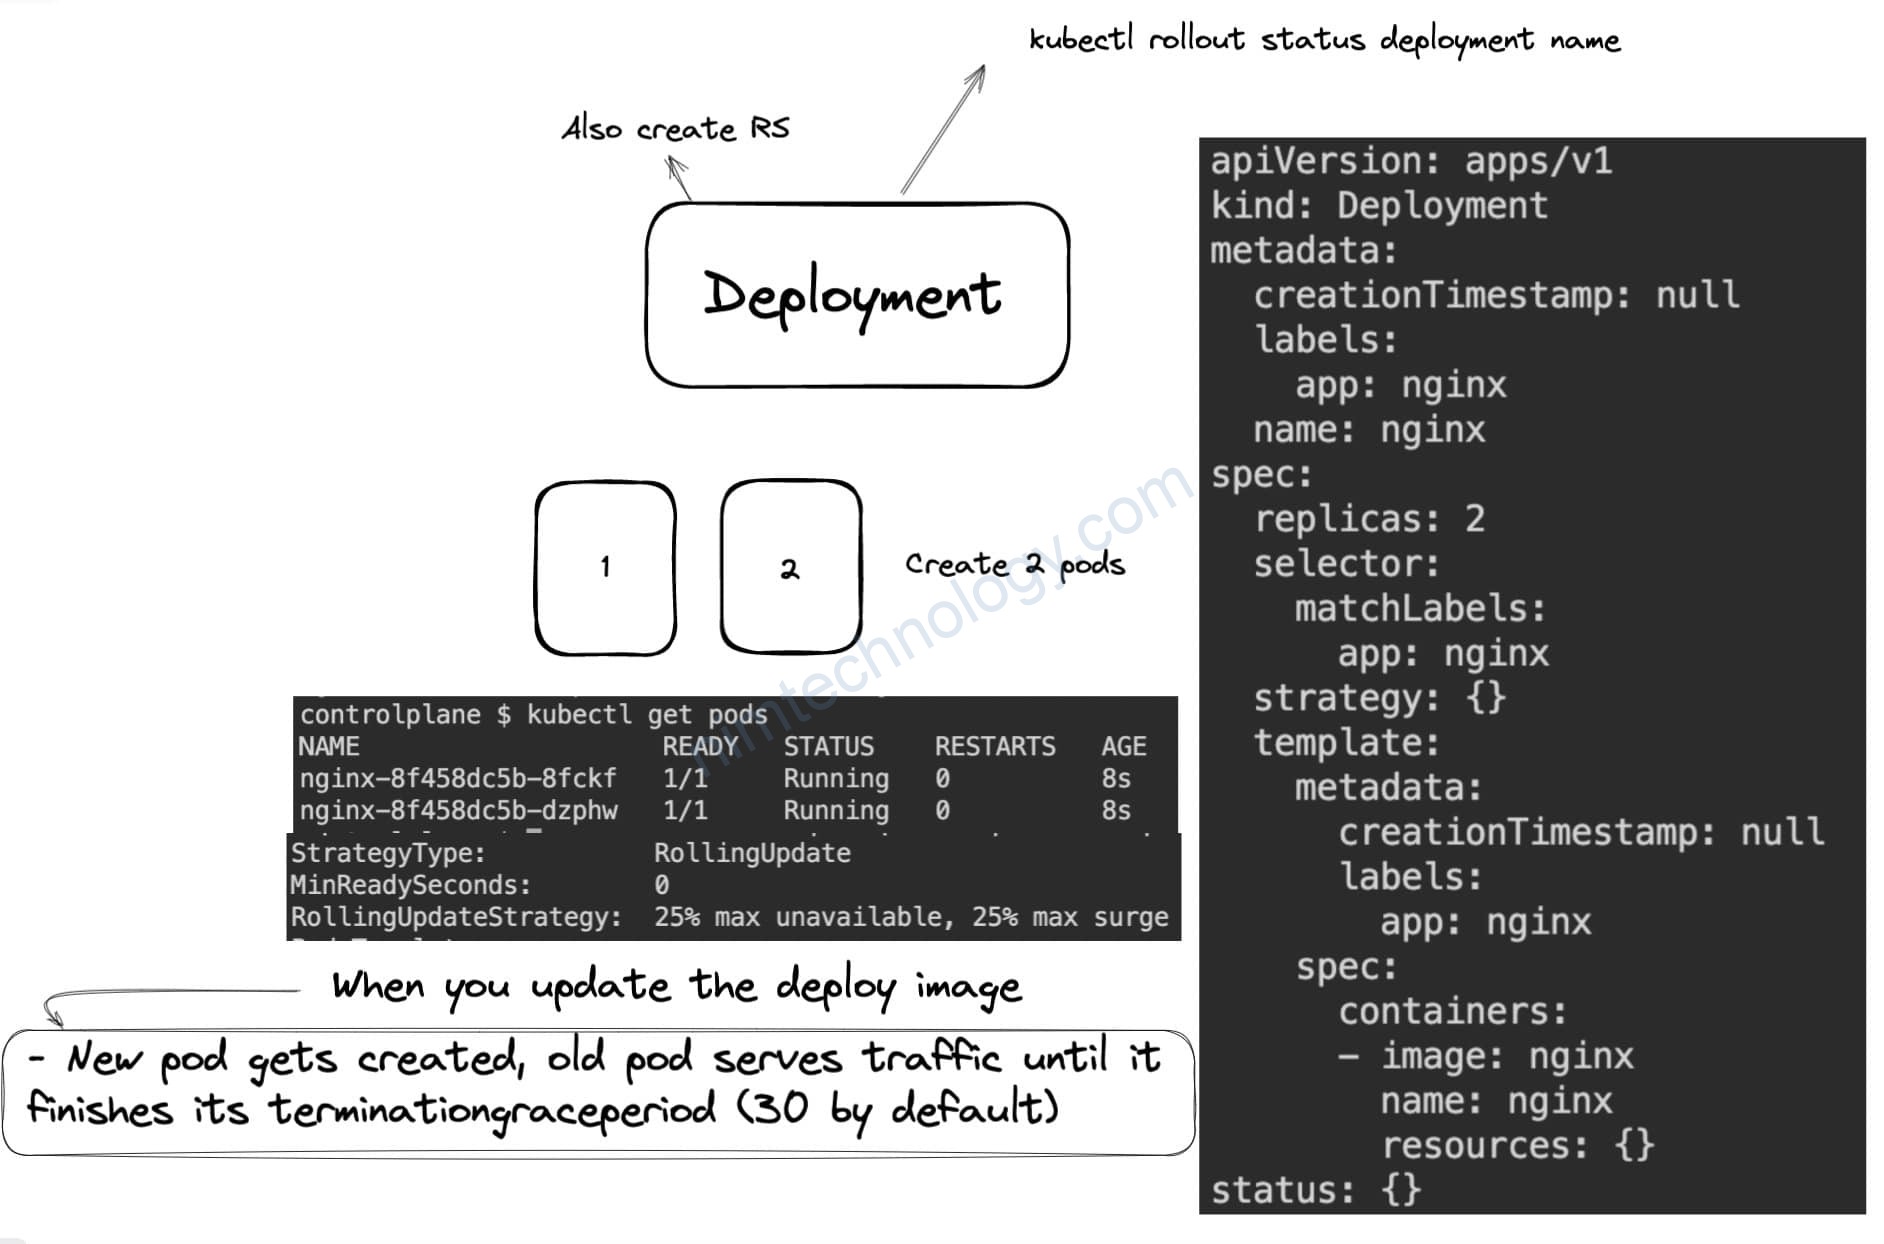
Writing a few helpful command kubectl
Hướng dẫn exec vào container:
kubectl exec -it -n default <pod_name> -c <container_name> -- bash

>>>>
kubectl exec -it -n default spinnaker-halyard-7787d9479d-hrqp8 -c spinnaker-halyard -- bash

kubectl exec -i -t busybox-deployment-57c9d48f54-jrwmc -c busybox -- sh -c "clear; (bash || ash || sh)"
Hướng dẫn copy 1 folder từ container ra local
kubectl cp <namespace>/<pod_name>:<folder_source> <folder_destination> -c <container>

>>>>
kubectl cp default/spinnaker-halyard-7787d9479d-hrqp8:/home/spinnaker/ /root/spinnaker -c spinnaker-halyard

## copy folder spinnaker trong pod ra local
Copy 1 file từ local to container
kubectl cp <folder>/<file> <namespace>/<pod_name>:<folder>/<file> -c <container>

kubectl cp /mnt/c/Users/ThangTran/Downloads/tester/tester/tester.exe engines-integration/eng-normal-filseclab-589c48b6b-zmbxt:/app/tester.exe -c eng-normal
Mình để ý là dù là windows: PS C:\app\unpacked\1716341775784-x9zv2E>
nhưng path folder windows không cần C:\
Get secret registry
kubectl -n platform get secret --context dev

kubectl -n platform get secret/nimtechnology-gcr --context dev -o yaml
Delete evict pods
kubectl get pod -n nimtechnology | grep Evicted | awk '{print $1}' | xargs kubectl delete pod -n nimtechnologycordon and drain node with kubectl
Drain node: This will mark the node as unschedulable and also evict pods on the node.
Cordon node: Mark node as unschedulable.
kubectl cordon <node_name>
kubectl cordon ip-10-195-228-109.us-west-2.compute.internal

kubectl drain <node_name> --delete-local-data --ignore-daemonsets --force
kubectl drain ip-10-195-228-37.us-west-2.compute.internal --delete-local-data --ignore-daemonsets --force
Create secret from file
kubectl create secret generic multi-aws-credentials \
-n argocd \
--from-file=.aws/config \
--from-file=.aws/credentials
Deployment is used test(curl)
apiVersion: apps/v1
kind: Deployment
metadata:
  name: busybox-deployment
  labels:
    app: busybox
spec:
  replicas: 1
  strategy:
    type: RollingUpdate
  selector:
    matchLabels:
      app: busybox
  template:
    metadata:
      labels:
        app: busybox
    spec:
      nodeSelector:
        kubernetes.io/os: linux
      containers:
      - name: busybox
        image: yauritux/busybox-curl
        imagePullPolicy: IfNotPresent
        command: ['sh', '-c', 'echo Container 1 is Running ; sleep 3600']
Delete the specific deployment on k8s
ENGINES_IS_KEPT=(
  <name_deployment_A>
  <name_deployment_B>
)
kubectl get deployment -n <name_space> | grep <grep_name> | awk '{print $1}' > tmp.txt
file="./tmp.txt"
while read line; do
  echo "I found out -> ${line}"
  if ! [[ ${ENGINES_IS_KEPT[*]} =~ "$line" ]]; then
      kubectl -n <name_space> delete deployment/$line
  fi
done < "${file}"
Delete the pod to be evicted
kubectl get pod -n <name_space> | grep Evicted | awk '{print $1}' | xargs kubectl delete pod -n <name_space>
Get Limit and Request Resources of Pods and Deployment.
# kubectl get deployments -n <namespace> -o=custom-columns=NAME:.metadata.name,REPLICAS:.spec.replicas,CPU_REQUEST:.spec.template.spec.containers[*].resources.requests.cpu,CPU_LIMIT:.spec.template.spec.containers[*].resources.limits.cpu,MEMORY_REQUEST:.spec.template.spec.containers[*].resources.requests.memory,MEMORY_LIMIT:.spec.template.spec.containers[*].resources.limits.memory
NAME                                         REPLICAS   CPU_REQUEST   CPU_LIMIT   MEMORY_REQUEST   MEMORY_LIMIT
producer                                     1          117m          1           65Mi             1000Mi
kubectl get pods -n <namespace> -o=custom-columns=NAME:.metadata.name,CPU_REQUEST:.spec.containers[*].resources.requests.cpu,CPU_LIMIT:.spec.containers[*].resources.limits.cpu,MEMORY_REQUEST:.spec.containers[*].resources.requests.memory,MEMORY_LIMIT:.spec.containers[*].resources.limits.memory
Please help me create a table with the following data and include a new column at the beginning to categorize each entry into different pools based on the name pattern. If the name contains “-archive-“, categorize it into the “archive” pool; if it contains “-high-“, categorize it into the “high” pool; if it contains “-low-“, categorize it into the “low” pool; otherwise, categorize it into the “normal” pool. Additionally, I want the table to show the number of engines in each pool. And Filter “eng-“
Create a Configmap file from the realistic data file.
To generate a YAML file for a Kubernetes ConfigMap from a file without applying it directly to a Kubernetes cluster, you can use the following command:
kubectl create configmap <configmap-name> --from-file=<path-to-your-file> --dry-run=client -o yaml > <output-file-name>.yamlReplace <configmap-name> with your desired ConfigMap name, <path-to-your-file> with the path to the file you want to include, and <output-file-name> with the desired name for your output YAML file. This command will generate a YAML file based on the specified file and save it without applying it to the cluster.


It is the best time to make a few plans for the
future and it is time to be happy. I have learn this post
and if I could I want to suggest you few attention-grabbing things or suggestions.
Perhaps you could write subsequent articles regarding this
article. I wish to learn more things approximately it!
My brother suggested I might like this website. He was entirely right.
This post actually made my day. You can not imagine just
how much time I had spent for this info! Thanks!
thank you for watching my post