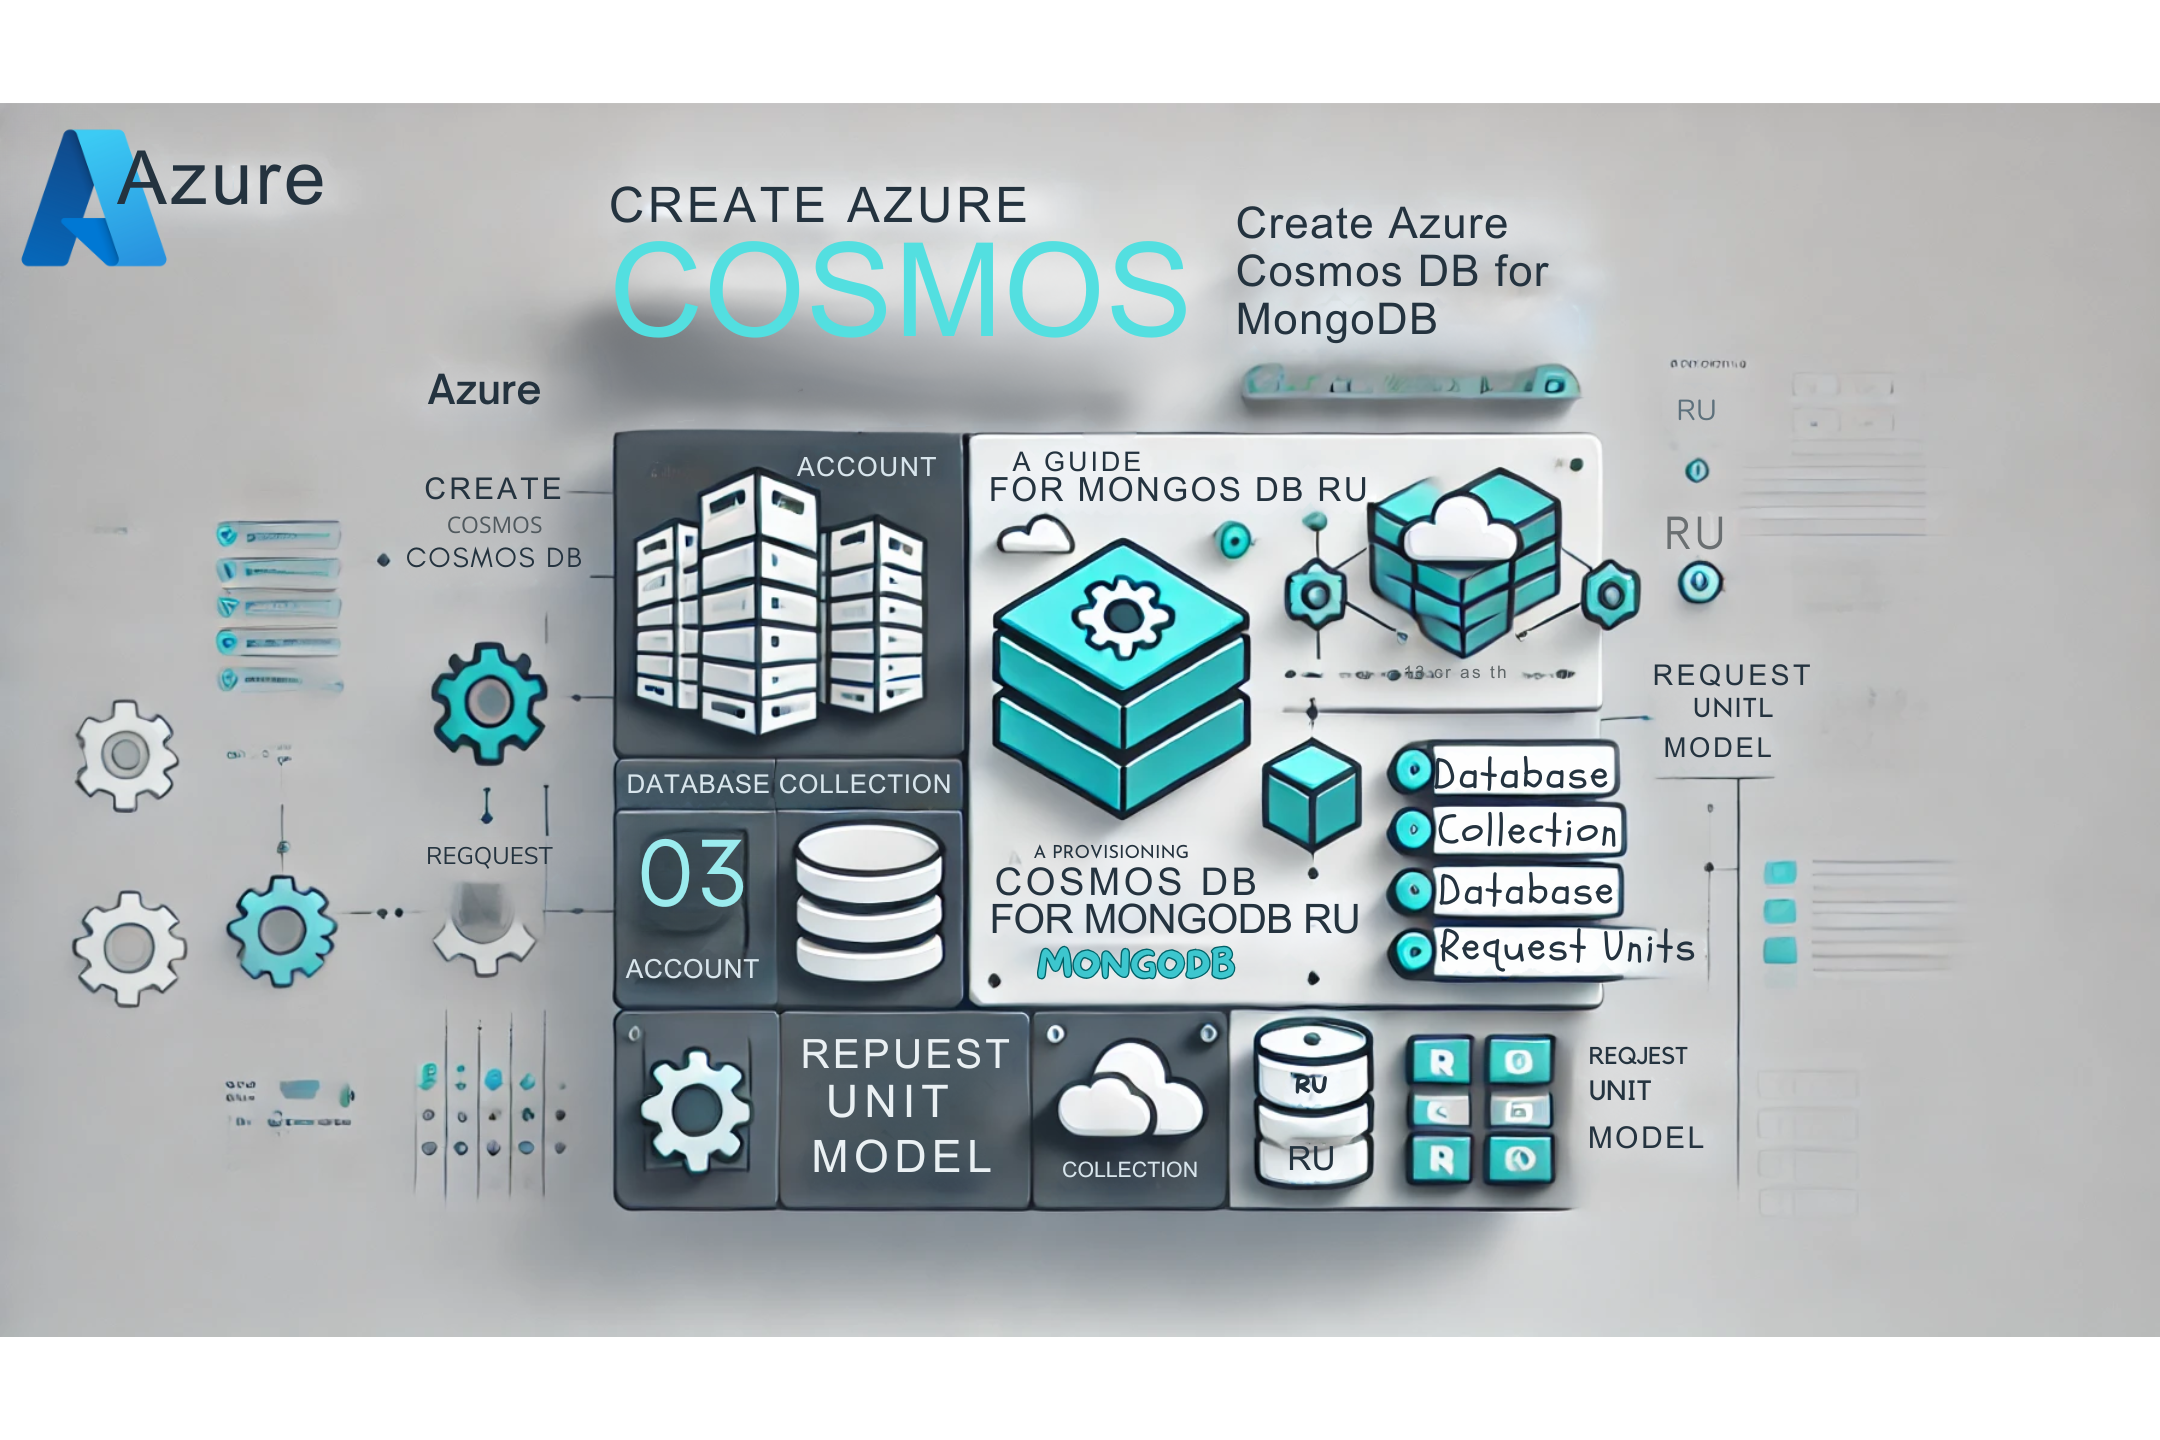
1) Create issuer, clientID, clientSecret on Azure Cloud
Theo như những bài mà chúng ta cấu hình để login argocd bằng Google account hay cognito. Thì chúng ta cấu hình và lấy được issuer, clientID, clientSecret và để authen thông qua Azure cũng như vậy.
2) Config the dex server of Argocd integrated with Azure cloud.
bạn sẽ cần edit argocd-cm configmap là ok.
apiVersion: v1
data:
  configManagementPlugins: |
    - name: kustomize-build-with-helm
      generate:
        command: [ "sh", "-c" ]
        args: [ "kustomize build --enable-helm" ]
  dex.config: |
    logger:
      level: debug
      format: json
    connectors:
    - config:
        insecureSkipEmailVerified: true
        issuer: 'https://login.microsoftonline.com/xxxxxx-xxx-xxx-xxx-xxxxxx/v2.0'
        clientID: 'xxxxx-xxx-xxxx-xxx-xxxxxxxx'
        clientSecret: 'XXXXXXXXXXXXXXXXXXXXXXXXX'
      type: oidc
      id: azure
      name: Azure
  exec.enable: 'true'
  kustomize.buildOptions: '--enable-alpha-plugins'
  url: 'https://kraken.nimtechnology.com'
kind: ConfigMap
metadata:
  name: argocd-cm
Issue
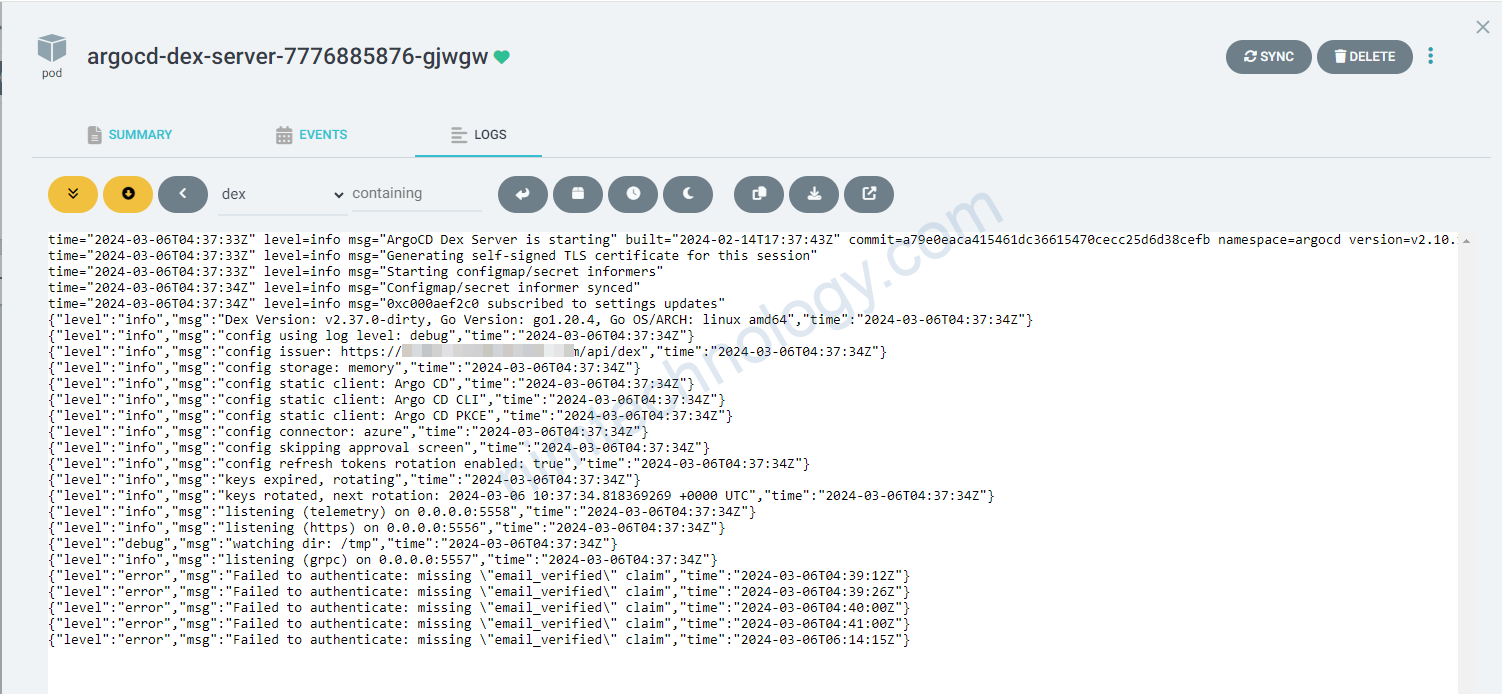
Failed to authenticate: missing “email_verified” claim

{"level":"error","msg":"Failed to authenticate: missing \"email_verified\" claim","time":"2024-03-06T04:39:12Z"}Nếu bạn gặp lỗi này và muốn bypass thì sẽ cấu hình như sau
https://github.com/dexidp/dex/issues/1455


