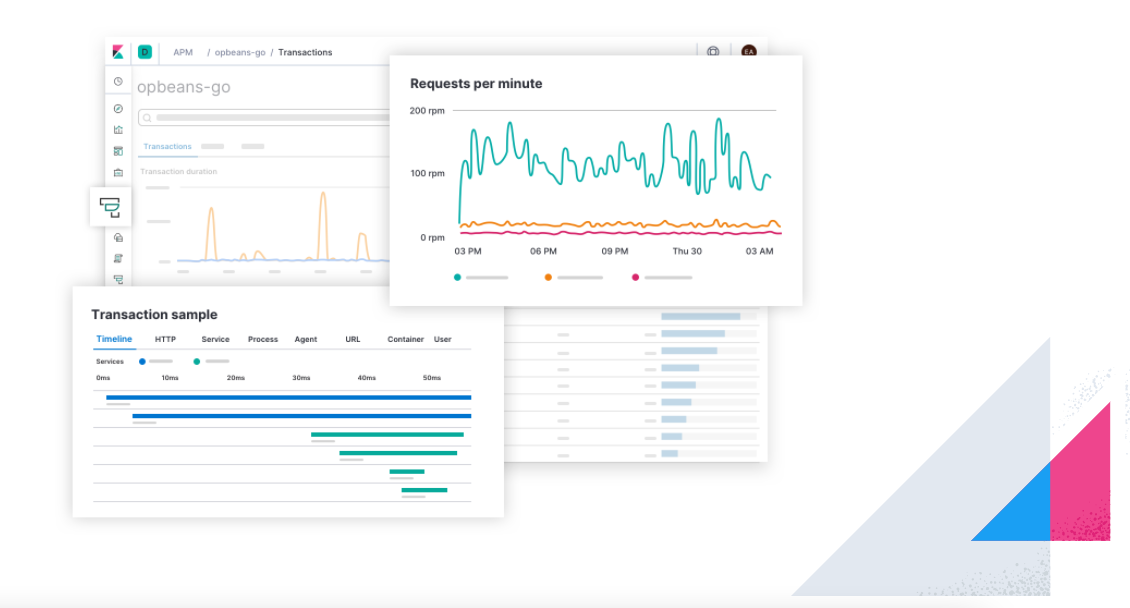
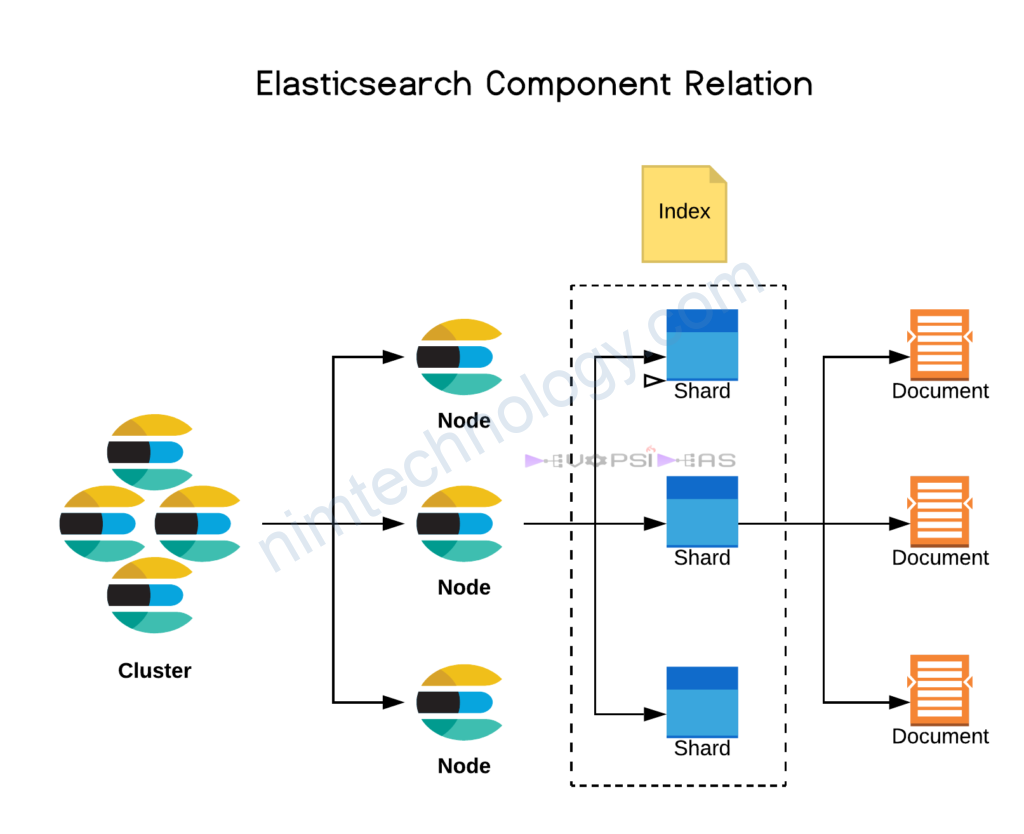
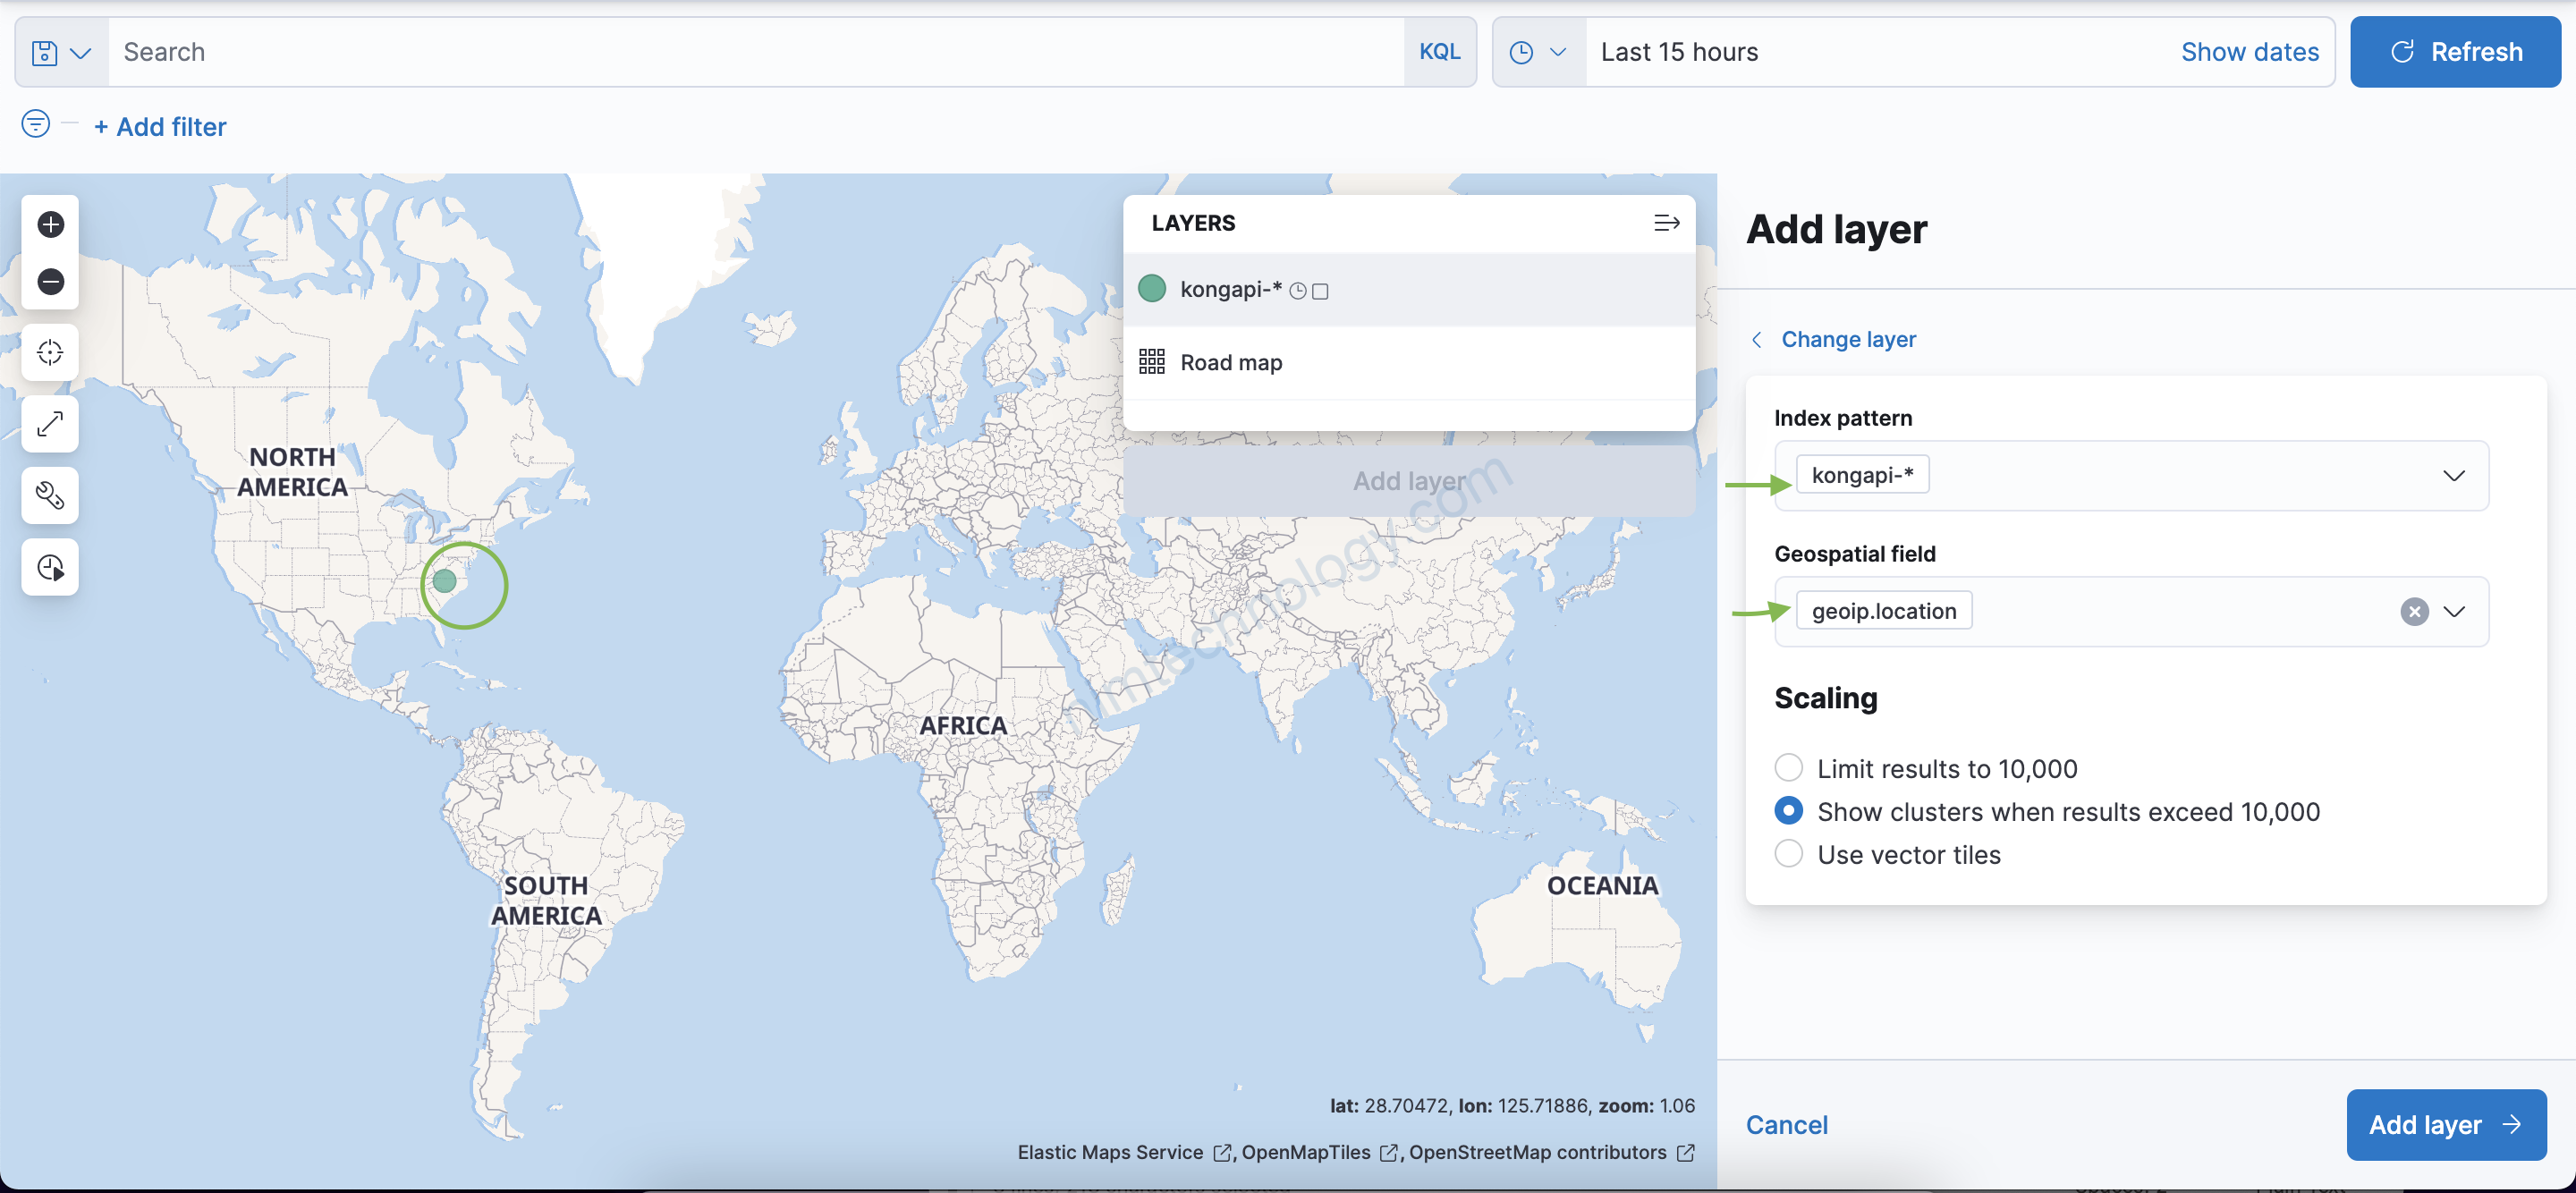
Hôm qua mình mới khám phá thêm thanh niên khá hay ho. Đó là APM trong họ hàng nhà Elastic
Elastic APM is an application performance monitoring system built on the Elastic Stack. It allows you to monitor software services and applications in real-time, by collecting detailed performance information on response time for incoming requests, database queries, calls to caches, external HTTP requests, and more.
1) Install APM Server
Bạn có thể cài bất cứ con nào? Đại loại APM server sẽ nhận từ APM agent và gửi về cho elastic.


mkdir apm-server
cd apm-server/
wget https://artifacts.elastic.co/downloads/apm-server/apm-server-7.16.3-amd64.deb
dpkg -i apm-server-7.16.3-amd64.deb
Giờ sửa file config
vi /etc/apm-server/apm-server.yml

######################### APM Server Configuration #########################

################################ APM Server ################################

apm-server:
  # Defines the host and port the server is listening on. Use "unix:/path/to.sock" to listen on a unix domain socket.
  host: "192.168.101.24:8200"

  # Configure authorization via a common `secret_token`. By default it is disabled.
  # Agents include the token in the following format: Authorization: Bearer <secret-token>.
  # It is recommended to use an authorization token in combination with SSL enabled,
  # and save the token in the apm-server keystore.
  #
  # WARNING: This configuration is deprecated and replaced with `apm-server.auth.secret_token`, and will be removed
  # in the 8.0 release. If that config is defined, this one will be ignored.
  #secret_token:
  secret_token: "<input password>"
#-------------------------- Elasticsearch output --------------------------
output.elasticsearch:
  # Array of hosts to connect to.
  # Scheme and port can be left out and will be set to the default (`http` and `9200`).
  # In case you specify and additional path, the scheme is required: `http://localhost:9200/path`.
  # IPv6 addresses should always be defined as: `https://[2001:db8::1]:9200`.
  hosts: ["192.168.101.24:9200"]
Giờ thực hiện restart và kiểm tra
systemctl restart apm-server
systemctl enable apm-server
systemctl status apm-server

2) Install APM Agent


Bạn sẽ cần exec vào container workpress nhé
docker exec -it wordpress_wordpress_1 bash
cd /var/www/html/
apt install wget -y
wget https://github.com/elastic/apm-agent-php/releases/download/v1.4.2/apm-agent-php_1.4.2_all.deb
dpkg -i apm-agent-php_1.4.2_all.deb

ls -ll /usr/local/etc/php/conf.d

giờ sửa file 99-elastic-apm-custom.ini
Last login: Wed Mar 16 00:21:25 2022 from 192.168.101.37
root@docker-center-u20:~# docker exec -it wordpress_wordpress_1 bash
root@7d2d8c677ede:/var/www/html# cat /usr/local/etc/php/conf.d/99-elastic-apm-custom.ini
; This file contains the various settings for the Elastic APM PHP agent. For
; further details refers to the following URL:
; https://www.elastic.co/guide/en/apm/agent/php/current/configuration-reference.html
;

[elastic]
elastic_apm.enabled = true
;elastic_apm.api_key = "REPLACE_WITH_API_KEY"
elastic_apm.environment = "production"
elastic_apm.log_level = "INFO"
elastic_apm.log_level_stderr = "INFO"
elastic_apm.secret_token = "<input password>"
;elastic_apm.server_timeout = "30s"
elastic_apm.server_url = "http://192.168.101.24:8200"
elastic_apm.service_name = "nimtechnology"
;elastic_apm.service_version = "REPLACE_WITH_OUTPUT_FROM_git rev-parse HEAD"
;elastic_apm.transaction_max_spans = 500
;elastic_apm.transaction_sample_rate =
Bạn save lại và restart container nhé!
3) result


Bạn có thể biết được Latency, Throughput, Transactions,…


