Trong bài này thì mình tìm hiểu các sử dụng model trong laravel để thực hiện select hoặc insert trong Laravel bằng model.
1) Set up the connection with a database.
1.1) SQLite.
Cập nhật trong .envDB_CONNECTION=sqlite
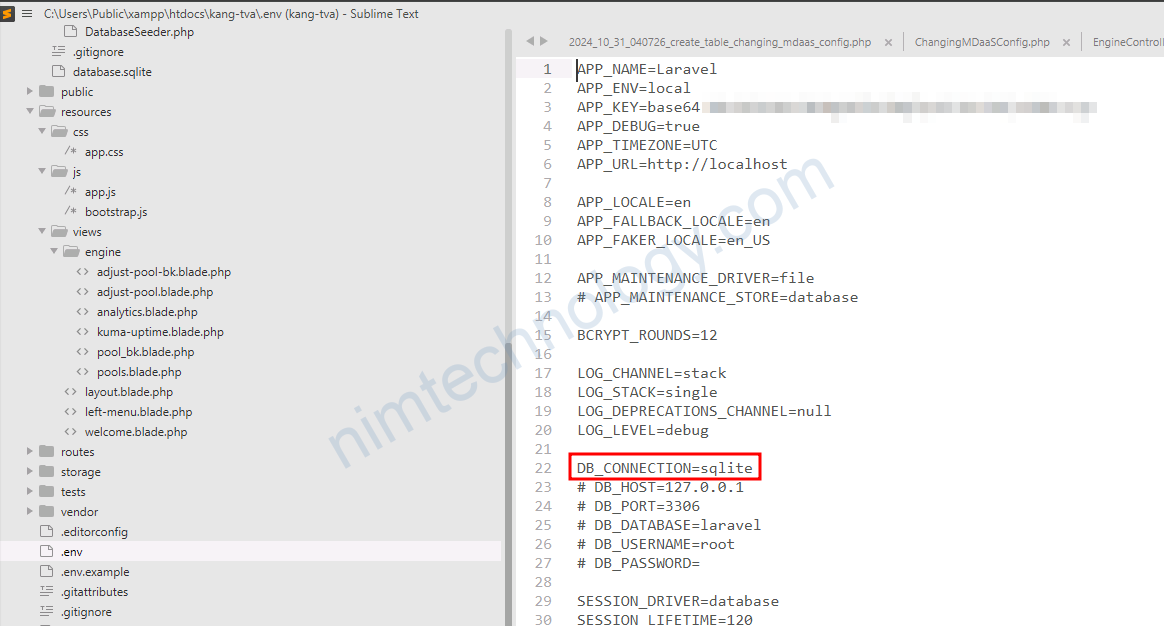
Tiếp đến bạn kiểm tra: config/database.php
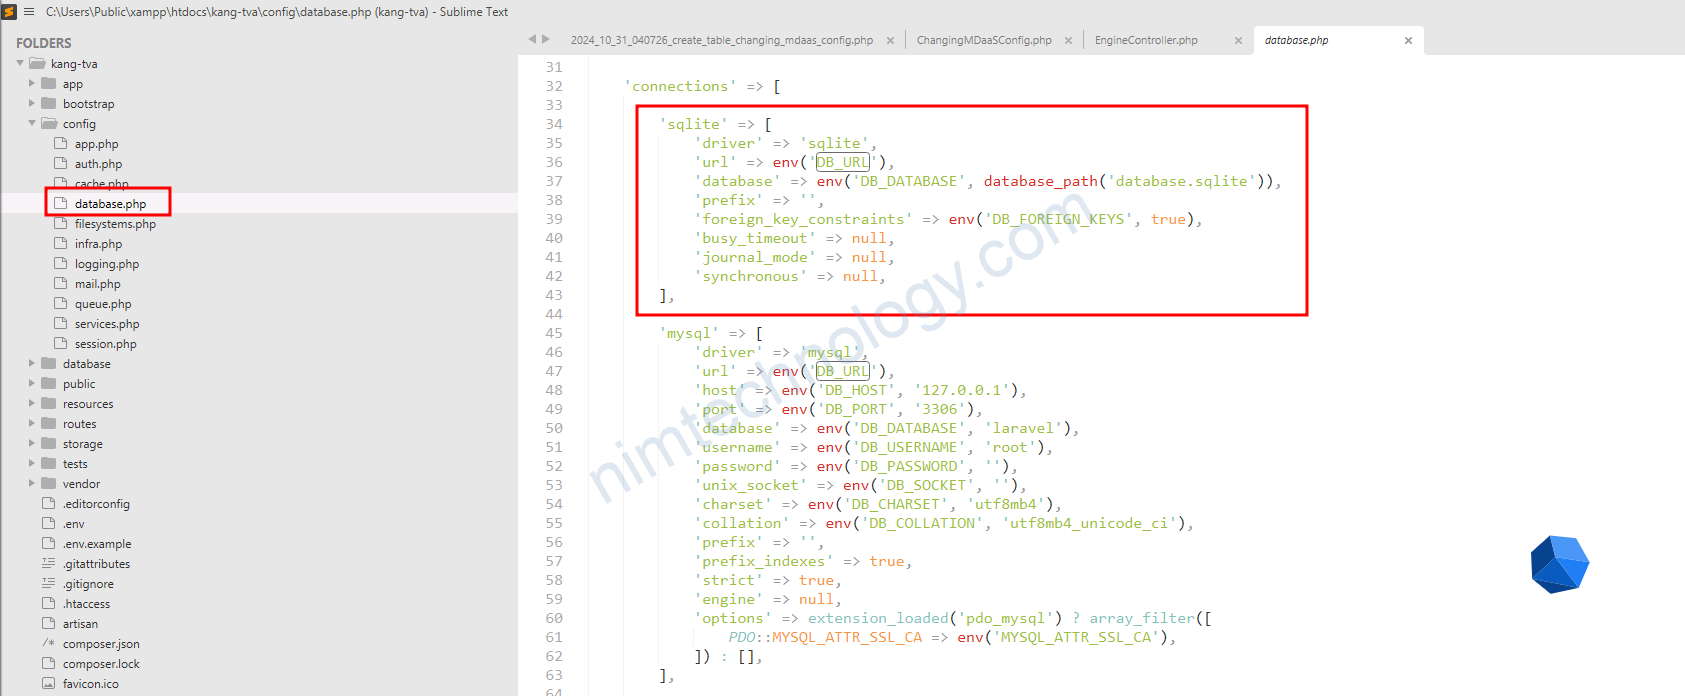
The database_path('database.sqlite') function in Laravel is a helper that returns the full path to the database directory in your Laravel project, with database.sqlite appended.
database_path('database.sqlite')Return:
/var/www/my_project/database/database.sqlite2) Set up the migration to create a table in the database.
Bạn cần gõ 1 command:
php artisan make:migration create_table_changing_nim_config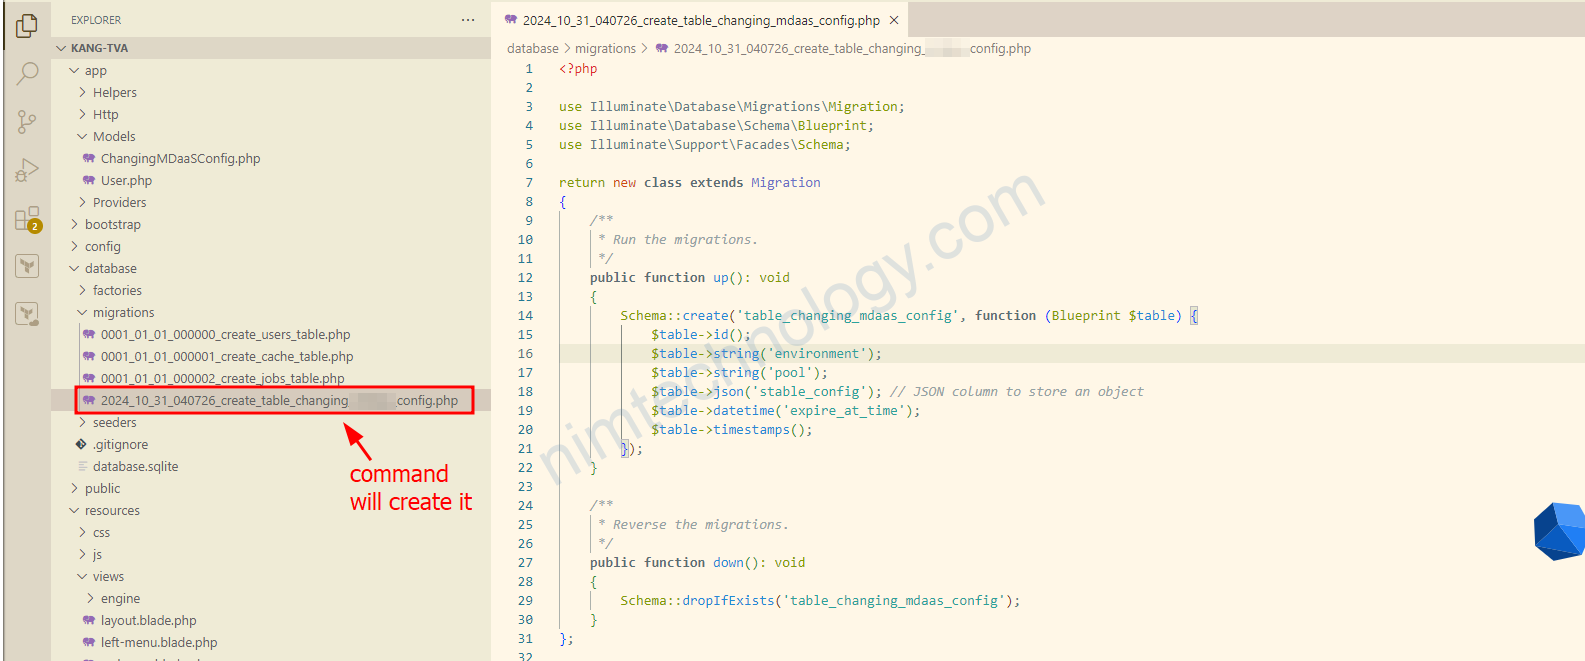
Tiếp đến bạn tạo các column:
<?php

use Illuminate\Database\Migrations\Migration;
use Illuminate\Database\Schema\Blueprint;
use Illuminate\Support\Facades\Schema;

return new class extends Migration
{
    /**
     * Run the migrations.
     */
    public function up(): void
    {
        Schema::create('table_changing_nim_config', function (Blueprint $table) {
            $table->id();
            $table->string('environment');
            $table->string('pool');
            $table->json('stable_config'); // JSON column to store an object
            $table->datetime('expire_at_time');
            $table->timestamps();
        });
    }

    /**
     * Reverse the migrations.
     */
    public function down(): void
    {
        Schema::dropIfExists('table_changing_nim_config');
    }
};
stable_config sẽ là dạng lưu array
expire_at_time sẽ là dạng datetime
sau đó bạn run:
php artisan migrateNếu bạn muốn rollback lại DB bạn có thể run câu lệnh:
php artisan migrate:rollback3) Define the Model database.
Bạn sử dụng command:
php artisan make:model ChangingNimConfigsau khi gõ command này bạn sẽ thấy 1 file được tạo ra:
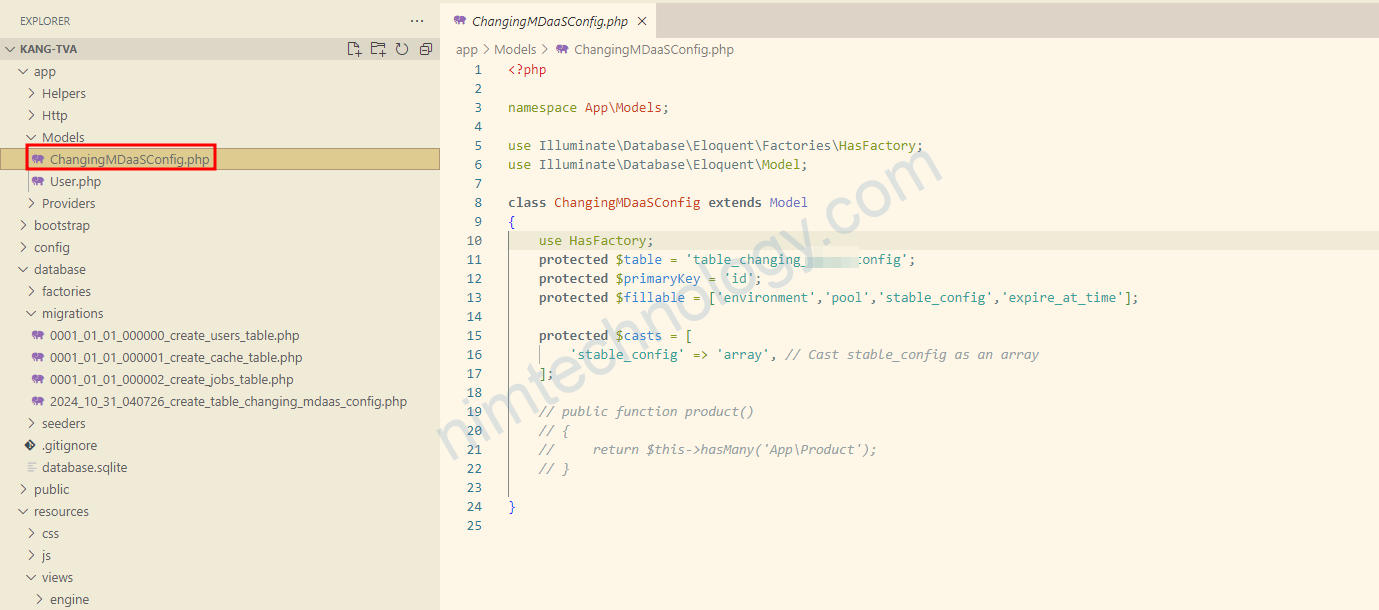
Bạn sẽ khai báo thêm các khai báo như là $table, $primaryKey, $fillable là các column
vì data insert vào stable_config đang array nên mình có thêm:
protected $casts = [
'stable_config' => 'array', // Cast stable_config as an array
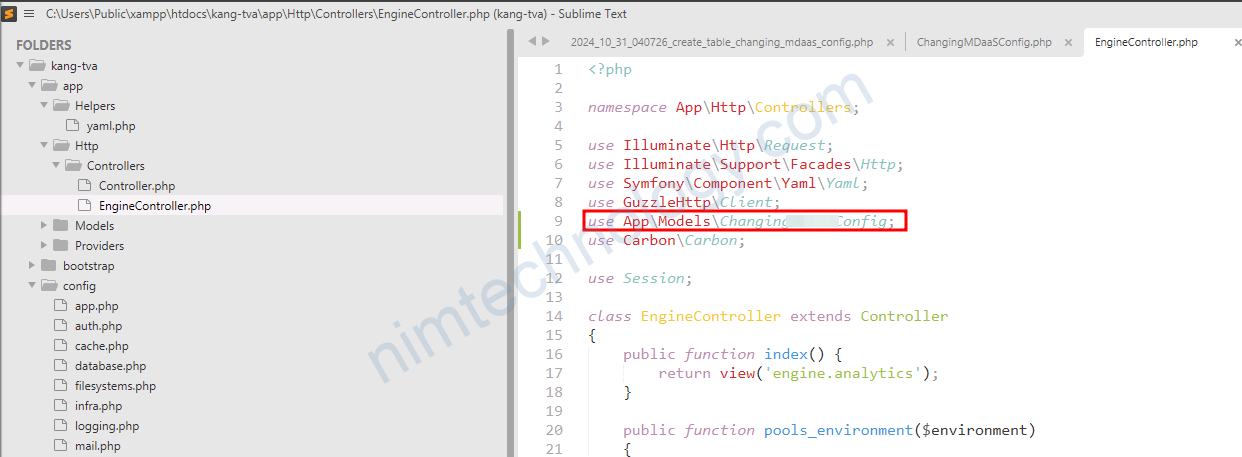
];4) Declare the model and apply it in the controller.
Đầu tiên chúng ta khai bao sử dụng Model:
Tiếp đến trong handler:
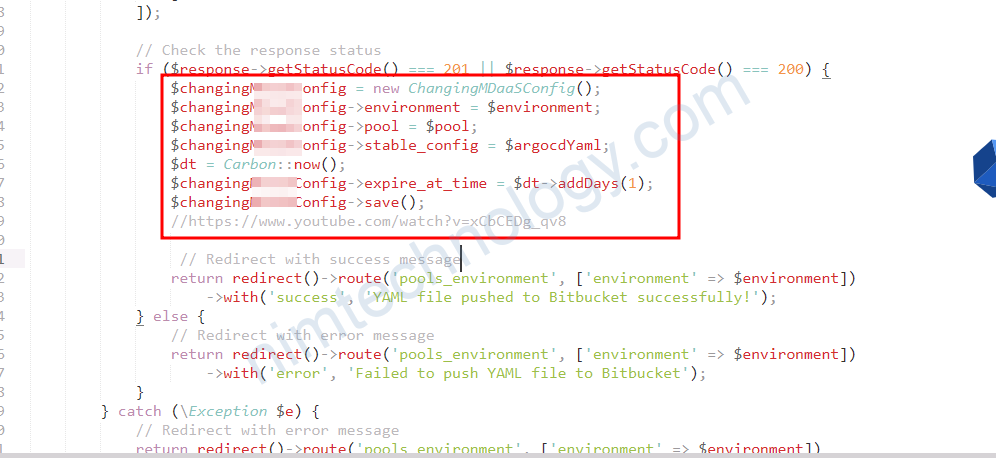
            // Check the response status
            if ($response->getStatusCode() === 201 || $response->getStatusCode() === 200) {
                $changingNIMConfig = new ChangingNIMConfig();
                $changingNIMConfig->environment = $environment;
                $changingNIMConfig->pool = $pool;
                $changingNIMConfig->stable_config = $argocdYaml;
                $dt = Carbon::now();
                $changingNIMConfig->expire_at_time = $dt->addDays(1);
                $changingNIMConfig->save();
                //https://www.youtube.com/watch?v=xCbCEDg_qv8

                 // Redirect with success message
                return redirect()->route('pools_environment', ['environment' => $environment])
                    ->with('success', 'YAML file pushed to Bitbucket successfully!');
            } else {
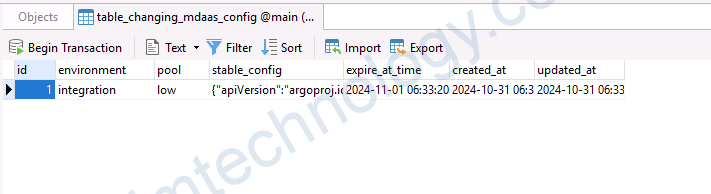
Sau khi chạy lệnh kiểm tra thấy có dữ liệu trong DB là ok
Delete record database with laravel:
$changingScaleObjectK8s = ChangingScaleObjectK8s::where('environment', $environment)
    ->where('namespace', $envConfig['namespace'])
    ->get(); // This returns a collection
Đầu tiên là bạn sẽ get 1 list nào đó trong database.
để xóa các records thì bạn cần 1 loop:
$changingScaleObjectK8s = ChangingScaleObjectK8s::where('environment', $environment)
    ->where('namespace', $envConfig['namespace'])
    ->get(); // This returns a collection

foreach ($changingScaleObjectK8s as $scaleObject) {
    // Process each $scaleObject as needed, then delete it
    $scaleObject->delete();
}
Hoặc bạn có thể directly delete thông qua query:
ChangingScaleObjectK8s::where('environment', $environment)
    ->where('namespace', $envConfig['namespace'])
    ->delete(); // This deletes all matching records directly